
****Warning Disclaimer**** I do not recommended opening up your unit and or performing any mods or repairs as you will void any warranty. Possibly damage the unit or even hurt your self if not careful. I did this at my own risk and as an informative post. Nothing more. If you choose to open up your unit You do so at your own risk!!!
*Special thanks to the Sunwin Technologies for making such a fun and retro product.*
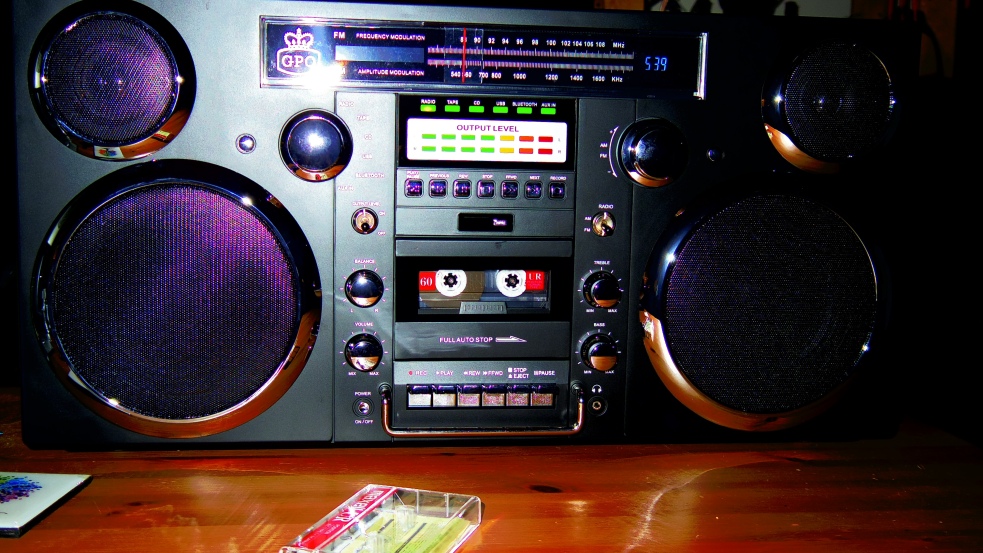
OK so after using my new GPO Brooklyn for a short time I found that battery time was OK to so so depending on the function I was using like listening to the radio, CD, cassette, blue tooth or USB etc. Using CD or cassette battery time was not as long as that when using the radio alone. When recording CD’s to cassette battery life was allot less and understandably so. As the battery has to not only power the main board functions but power amplifier, the CD drive laser and motor, the Cassette deck heads and motor. The volume at which I played the music at also contributed to battery drain. Using the output meter light show also added to additional power drain. Recording to the USB stick from ether the CD or Cassette also yielded less battery time as when compared to just listing to the radio alone or using the bluetooth function. This was no different from when one would use a boombox with built-in CD player and double cassette with separate motors and a 15 Volt DC source of 10 ‘D’ sized batteries. EEK! 😦
What I noticed was that the unit goes into standby mode and feeds power to the clock so that it would not loose the time. Also tp the main board to preserve settings such as Volume, balance setting, BASS and TREBLE levels. Thus never really powering the unit completely down.
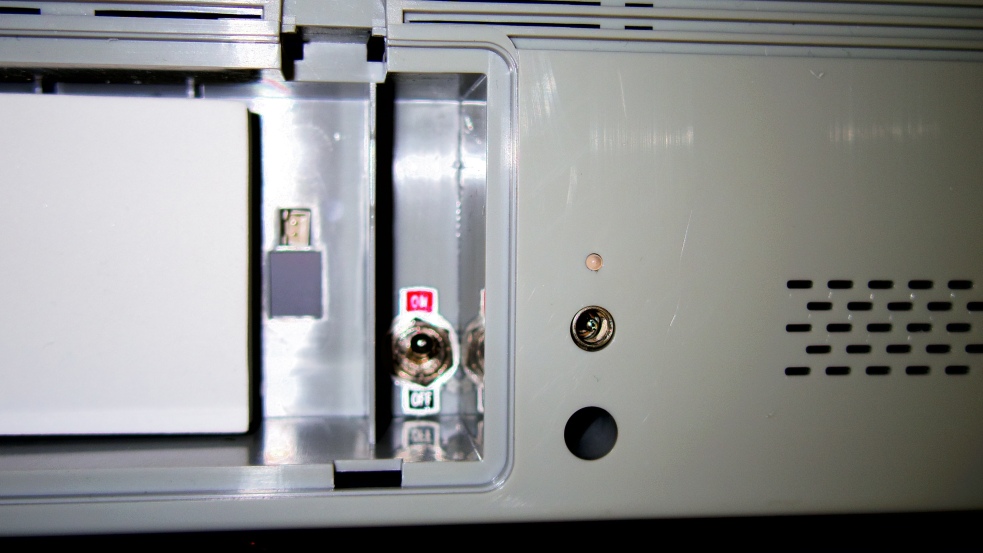
What I wanted to do was to have a way to comply power the unit down without having to disconnect the battery. This way I could store the unit with out draining the battery thus hopefully getting long battery time. So I decided to install a switch inside the battery compartment that when in the off position. the battery will be removed from the circuit. Of course all settings will be lost it when not plugged into the mains. When in the on position the mains power can charge the battery while I use the unit or just simply to charge the unit while on stand by.
Battery Switch Installation:
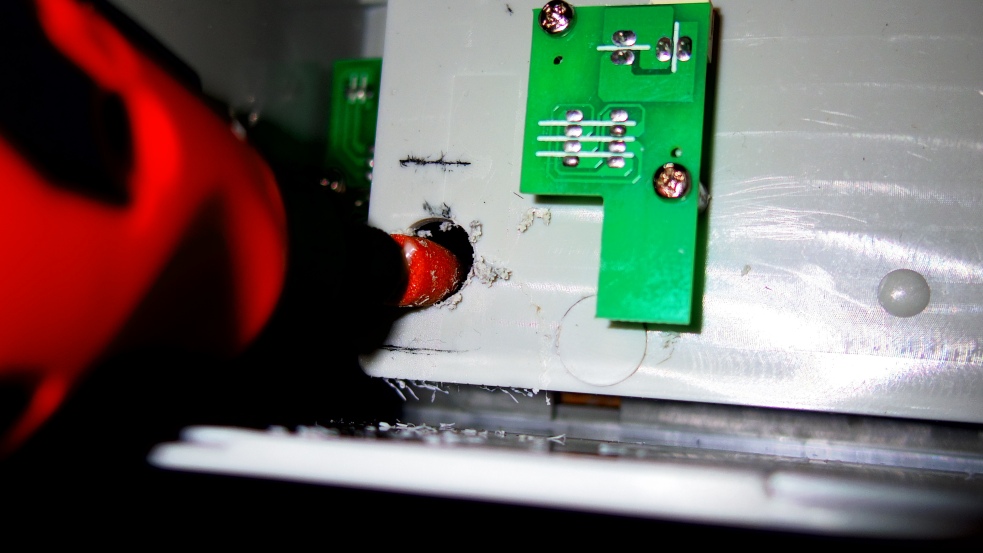
First I disconnected and removed the Lithium batter and put it to the side. I then removed all 12 screws from the that hold the unit together carefully pulled the front face from the top slowly. The bottom of the front face cover gave me a bit of trouble because the there are long rubber strips that run from front to back and held the bottom portion of the face to the back, Then I labeled all the cables going from the back shell to the front face and carefully disconnected them from the main board.
I located the battery input cable which was easy to find.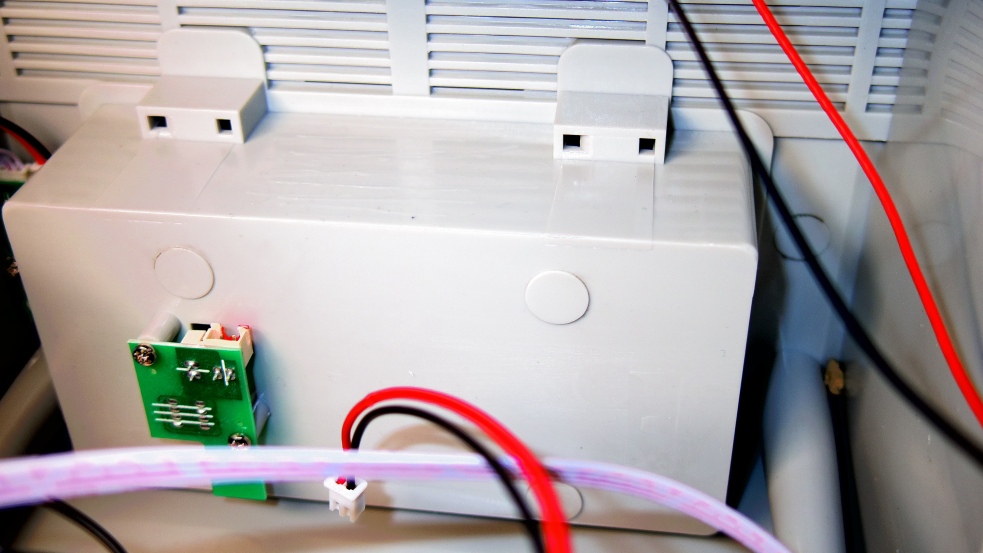
I detached the wire from both the main board and the rear shell battery compartment.
I decided I wanted the switch to be inside the battery compartment hidden from view yet easy to get to. After locating a good location with in the battery compartment. I measured then marked the location to cut a hole for the switch.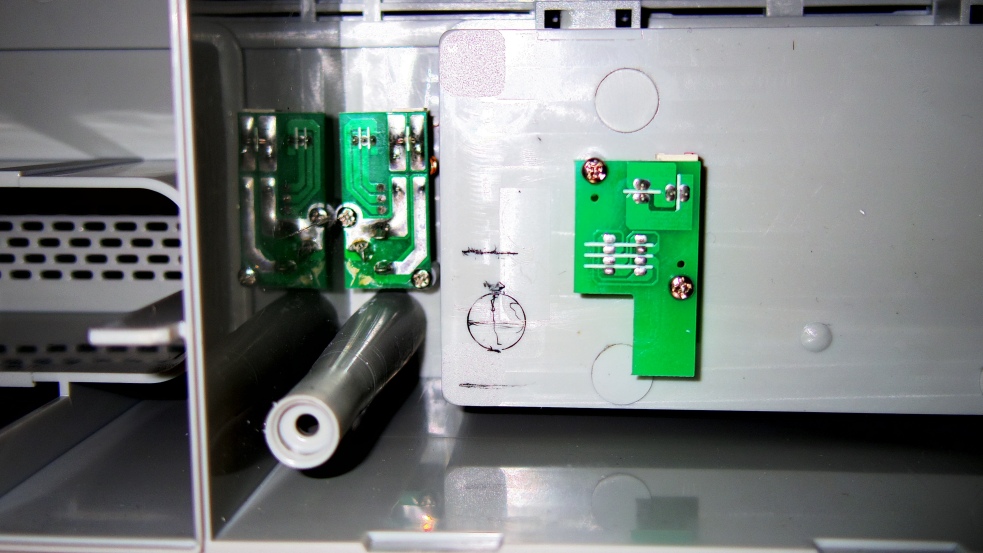
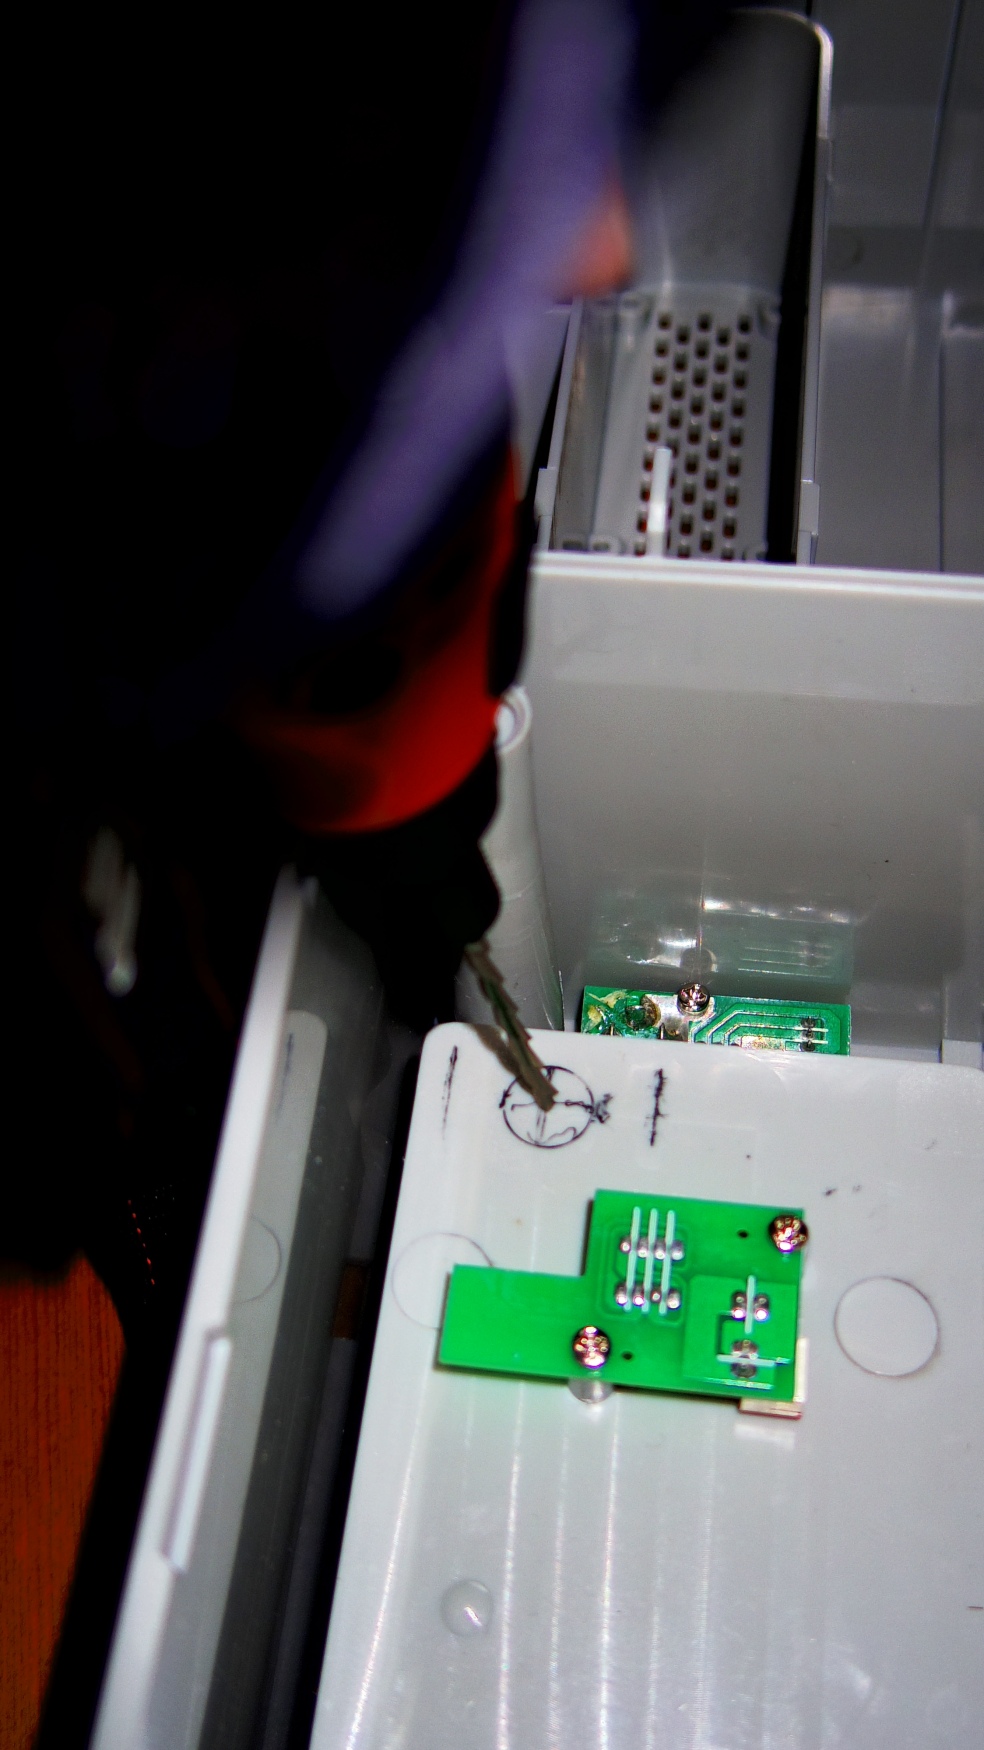
I then cut red positive lead of the battery compartment feed wire. Then soldered an inline 10A switch (it’s what I had on hand) to the cut ends.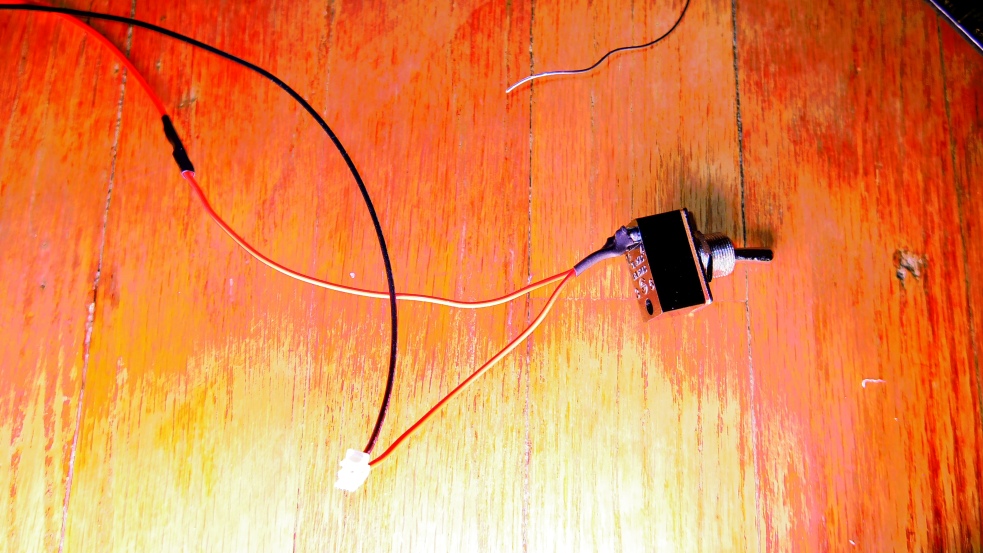
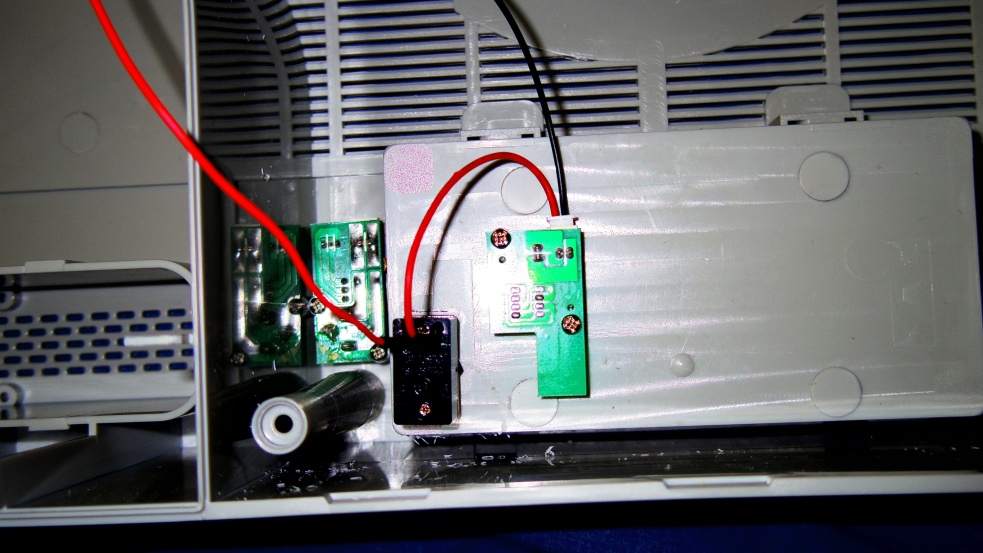
After re-attaching all the cables and re-assembling the unit. I tested everything to make everything still works.
I am now able to store the boombox away when no in use and not drain the battery in the process.
giggly Handle fix:
This one is simple and annoying at the same time as getting the washers in place can be a little tricky.
The carry handle is held in place by a plastic pin but it moves from side to side giving it a sorta cheap feel to it. 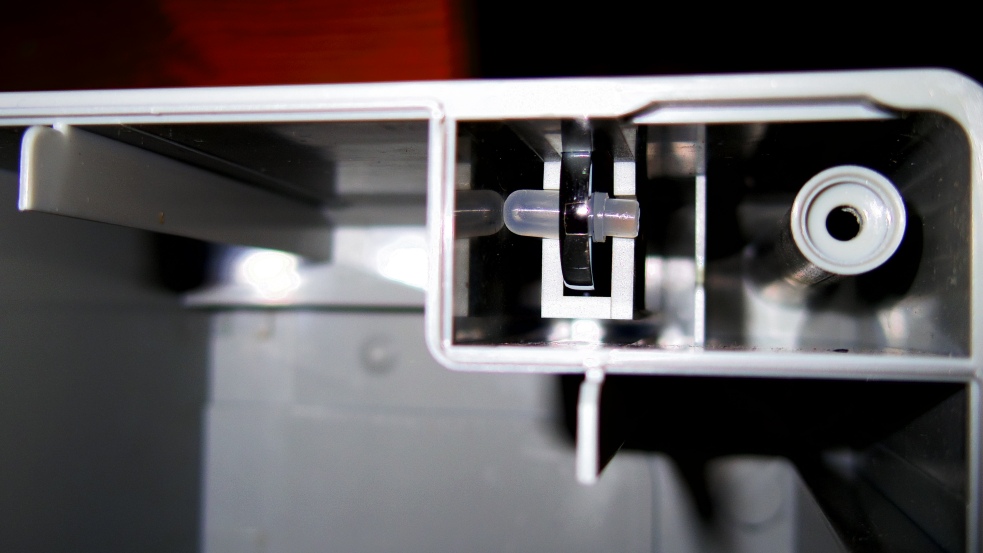
Simply insert washers as shown below, I think plastic washers would have worked better but all I had access to were metal ones.
 Now the carry handle of the GPO Brooklyn does not giggle or rattle any more and has a more old school quality feel to it.
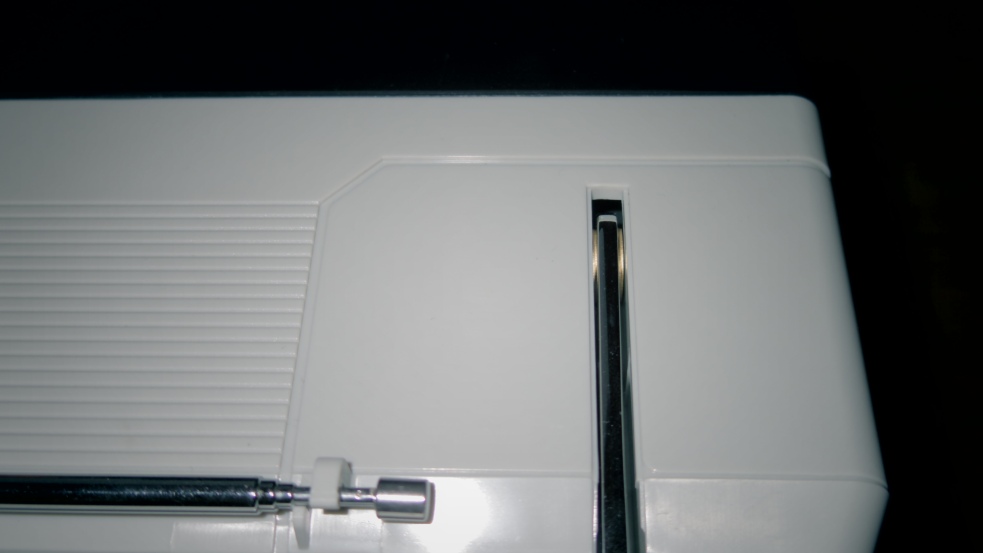
The Hold Bar Mod:
This is more of an old school astetics and functional mod and really give the GPO Brooklyn that old school street feel. 🙂 I am happy with how this came out.
Pictures are basically self explanitory:
Inside Reinforcement Support 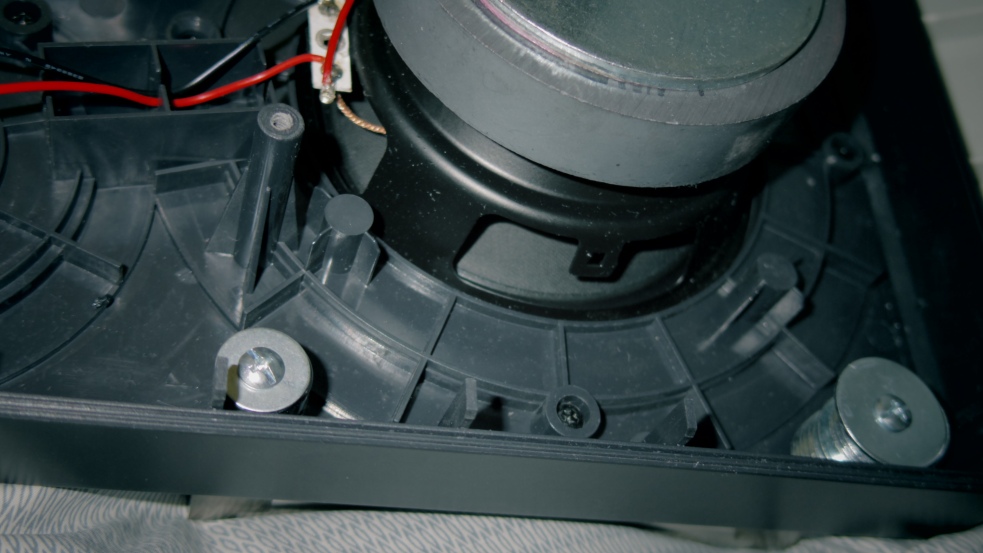
Future Mods:
I am currently looking into finding a way to ether turn down the sesitiviy of the output meters or deleting them all together and replacing them with something more accurate. Unfortunately the current meters are attached to a single board which also holds the controls for the CD/USB fuctions. But once I come up with a solution I will post.
**Check a peek inside the unit here**
.

Anyone know where to order a replacement battery?
LikeLike
I tried finding direct replacements my self but, oddly enough when I look up the part number I get results for 3.7 Volt Tablet replacement batteries. I am starting to believe that perhaps is could be 3 357096’s (tablet) 3.7 Volt LiPo batteries in series which would equal the 11.1V 2700 and wrapped in the blue protective wrapper, hence the 357096-3SiP number on the battery wrapping. These batteries are flat and thin (70mm; Height: 96mm; Thick: 3.5mm each) 3 sandwiched together would definitely fit detentions of the one that came prepackaged with the boombox which is (70mm; Height: 96mm; Thick: 10.9mm ) Feeling the sides of the the battery pack I can feel the three flat cells inside the packaging.
LikeLike
Has anyone tried to upgrade the speakers? I want to get more gain and output out of mine.
LikeLike
I am actually working on such project, sorry for the delayed response 🙂
LikeLike